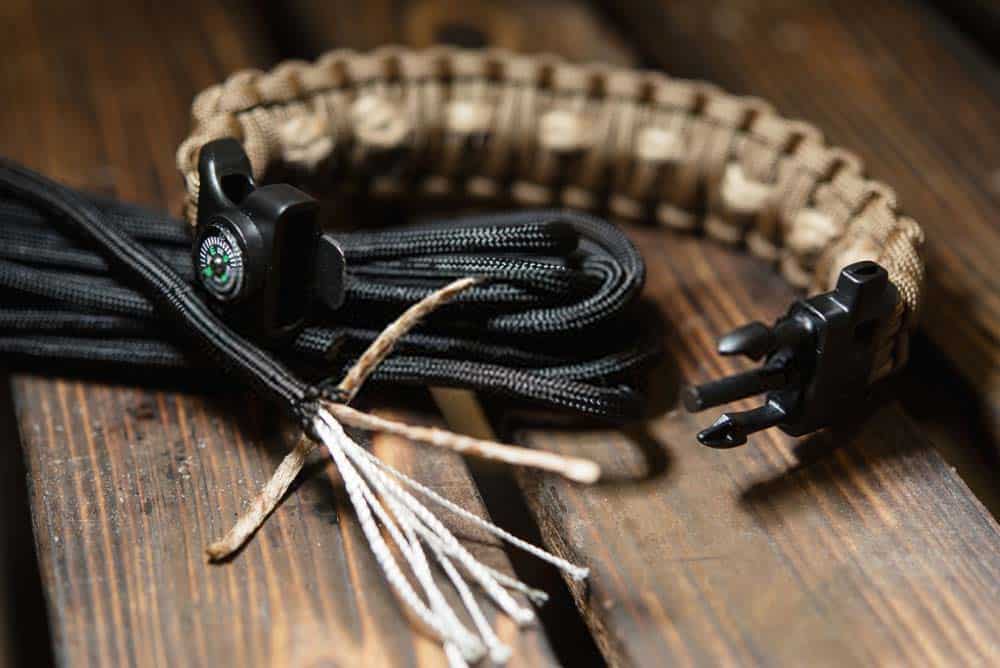
Here I will be taking you through step-by-step instructions on how to make your paracord bracelet for survival. It can be worn when hiking and backpacking as well. Usually, a paracord bracelet would contain around 8-10 feet of cord that has several practical uses in an emergency. We’ll explore these uses below.
Materials Needed
There are some basic materials you will need to make your bracelet. These include:
- 10 feet of paracord
- A buckle with a side release
- Scissors or a knife for cutting
- A measuring tape or a ruler
- A lighter
Step 1 – Measure Your Wrist
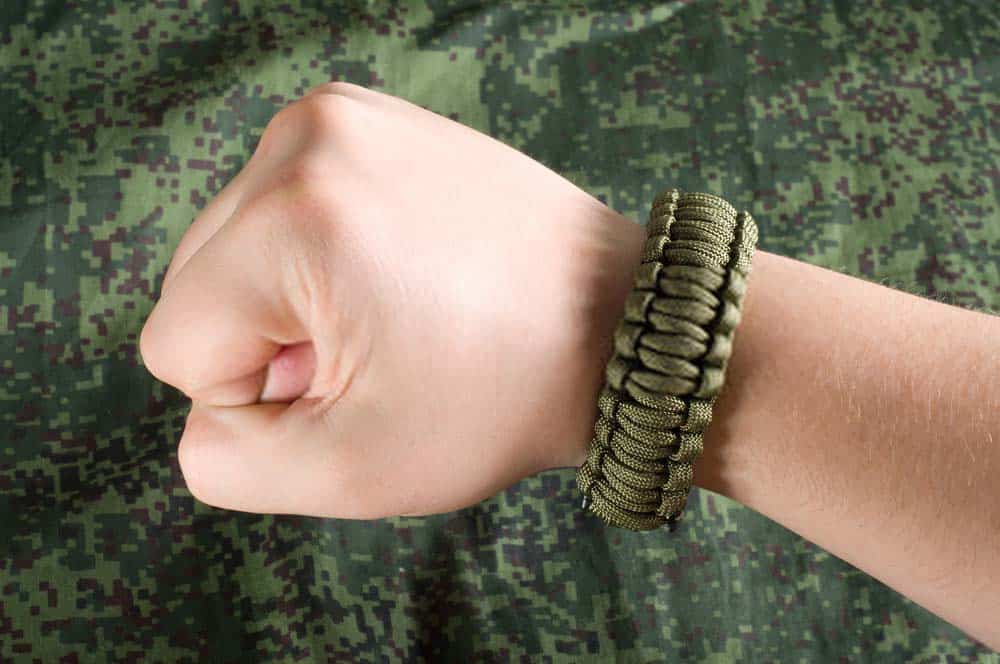
You don’t want to make a bracelet that won’t fit. The first thing you want to do is determine the length of your paracord bracelet. Take some paracord and wrap it loosely around your wrist. Note down the spot where the cord meets. Then take your measuring tape to measure that length, adding 1 inch onto any measurement you have.
Step 2 – Thread and then Attach the Female Part of the Clip to the Paracord
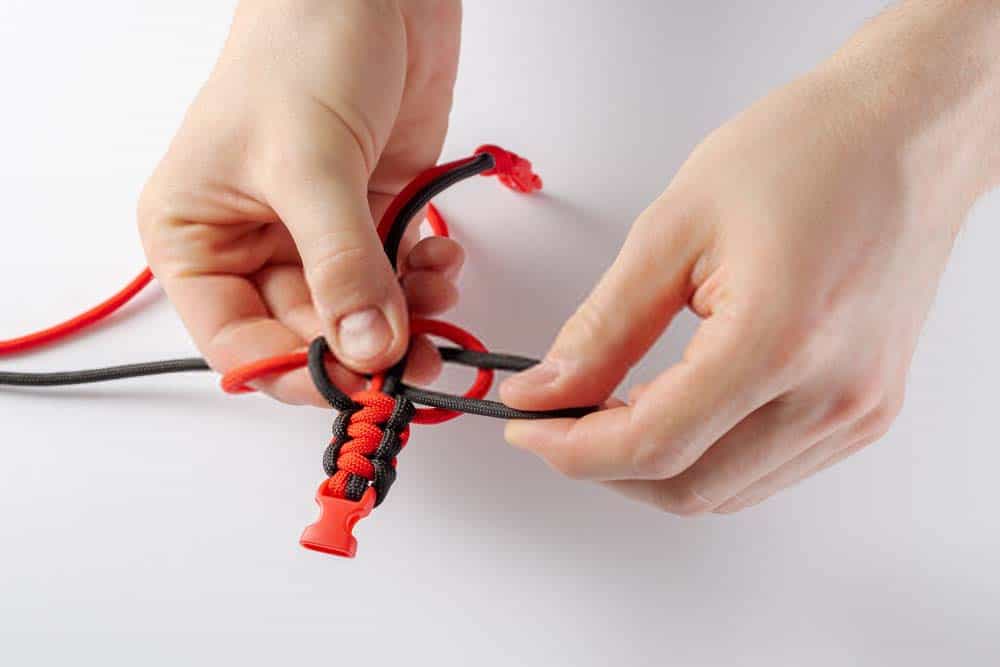
Take your 8-10 feet of paracord and fold it in half. Take your buckle and release the two sides so that they are apart. The ends of the paracord should then be threaded through the female part of the buckle and fastened in place
Step 3 – Thread and Attach the Male Clip
Once the female end has been attached, it’s time for you to attach the male end. Place this at the other end of the paracord and slide it down until it is the same distance apart from the number you measured earlier. Remember to add in that 1 inch. Measure from the end of the female buckle clip right to the edge of the male buckle that meets the female part once the clip is closed.
Step 4 – Tie the Stitches Together
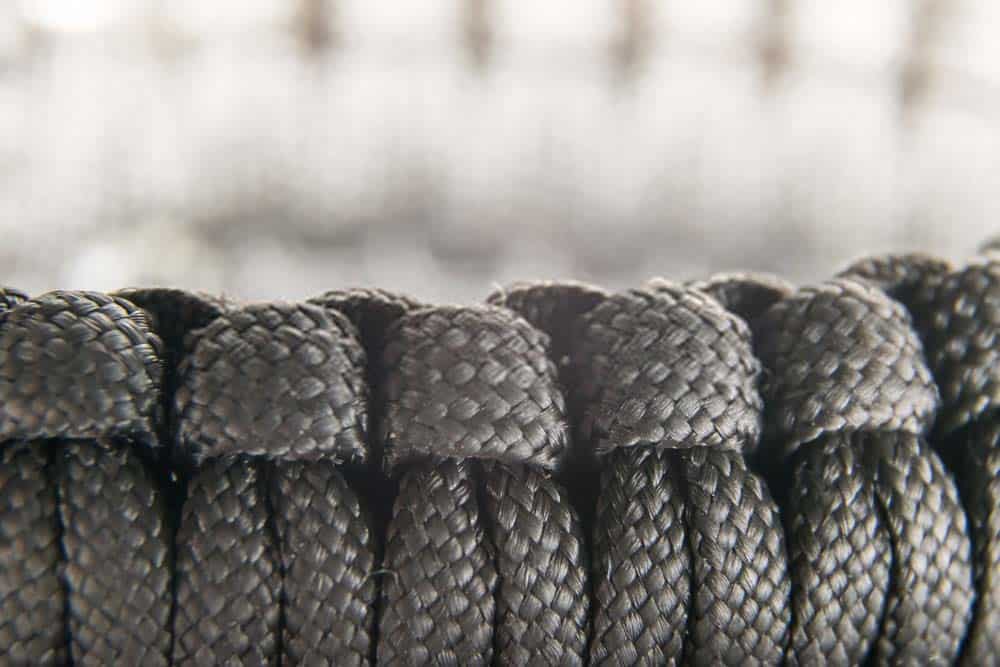
There are many variations and styles of the paracord bracelet, but the most common one used is the Cobra Stitch. At this point, you will want to double-check your bracelet is the correct length to avoid having to undo multiple stitches moving forwards.
Tying the Cobra Stitch
- Lay your paracord out with both buckle parts attached. You should have four pieces of paracord to work with. Pass the loose left end up the center two cords, then pass it over the loose end to the right.
- Now you pass the loose cord on the right over the top of the two center cords. Pass them through the loop on the left side and then tighten them. This is similar to a granny knot.
- Keep repeating the steps above but alternate starting from left to right, to right to left.
If you continue to alternate your stitches in this way, eventually, you will have a bracelet that is knotted down to the male end of the buckle. Making a mistake and forgetting to alternate your stitches will cause the bracelet to twist. If this happens, undo your last knot and try it again, going the other way.
Step 5 – Finish Off the Bracelet
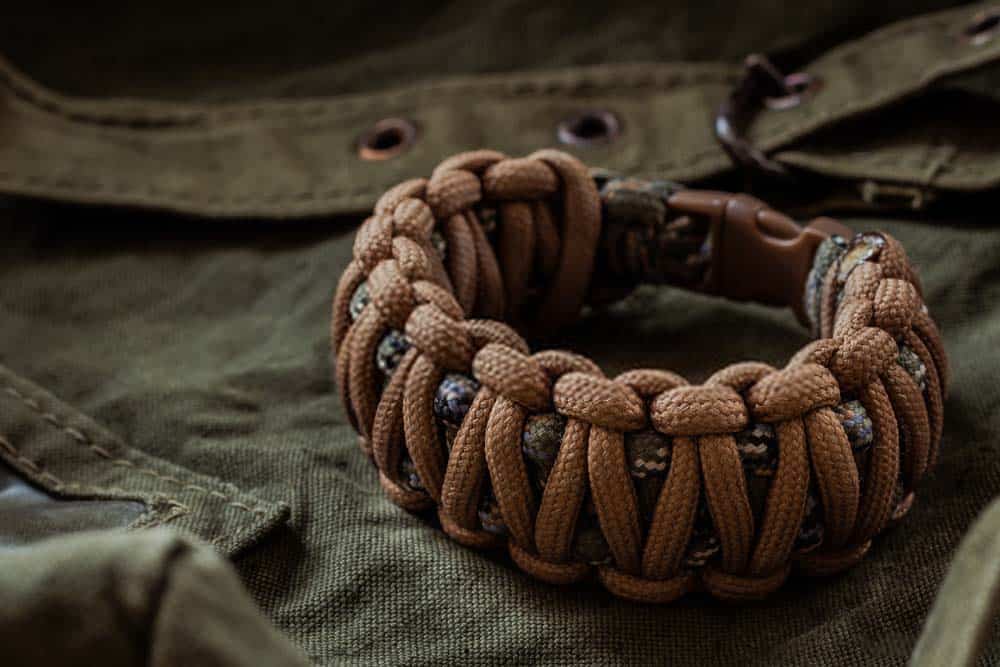
Before you finish the bracelet off, you want to make sure it fits you comfortably. You should be able to fit your finger underneath it. A paracord bracelet can be easily adjusted by undoing the knots and adjusting your measurements to get the perfect fit.
Now that you’re sure the bracelet fits you correctly, you can finish it. Pull the loose ends through the loop that attaches the female end to the paracord. Then trim off the ends and melt them, so there are no sharp bits. A knife or a pair of scissors can be used to flatten out the melted ends of the bracelet too.
What can you use a paracord bracelet for?
Constant access to the cord
During a crisis, you need to use a rope to build shelters, places to cook, and even gates. A paracord bracelet has around 8 to 10 feet of cord at your disposal. If you take the sheath off, you can use the inner strands to tie things together as well. Whether you wear your bracelet or attach it to your survival backpack, having access to that cord could be the difference between life and death.
Fishing
You can unsheath a paracord and use the inner strands as a fishing line. In an emergency, you have a fishing line at your disposal.

Building fire
Besides being a secure clasp, you can use the buckles for various other uses as well. Some of the buckles contain small fire starters that come in handy for creating sparks when starting a fire. With a couple of strikes, you could have a roaring fire, which would normally take hours to light.
Signaling
If you were ever in a situation where you wanted to draw attention to yourself, such as waiting to be rescued, you could use your paracord bracelet here too. Paracord bracelets can feature signal mirrors and even whistles, which would alert rescuers to your location. Although they are small and not the ideal tool, in an emergency, they could still be very useful.
Building a shelter
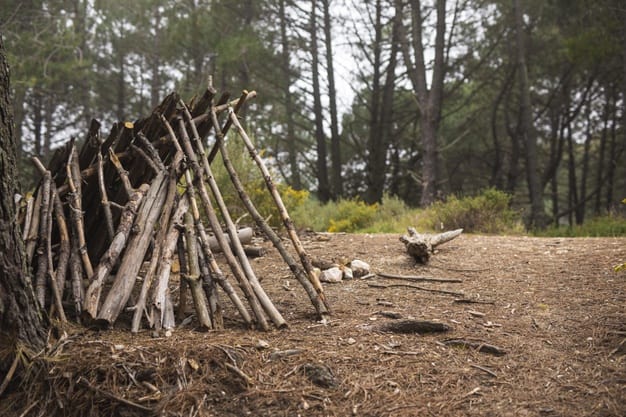
Cords are crucial for building shelters. It’s one of the most basic pieces of kit if you want to make a shelter out in the wilderness. Ropes are very hard to come by in an emergency, but you have the opportunity to have one with you at all times in the form of a paracord bracelet.
Making traps and snares
Food may not be available to get from a shop or through foraging in a survival scenario. You will have to fish, trap, hunt, and even snare to get your food. Paracord bracelets can help you form a snare wire that triggers the trap, catching your dinner.
Repairing gear
There will likely be a situation where you must do a quick repair job on some of your gear, even if you are just doing a survival weekend in the wilderness. If you need to do a quick patch job like sewing, the internal threads of the paracord will do the job perfectly. Backpacks and harnesses can also be attached back together again using the cord. It’s amazing what these little bracelets can do.
Final Words
Congratulations on making your paracord bracelet. I hope you are never in an emergency to warrant using it, but it can certainly come in handy if you are in a pinch.


